Unlocking ChatGPT’s Hidden Gem: Search ChatGPT History
I don’t know about you, but I’ve lost track of how much time I have spent searching through my ChatGPT history to find a crucial piece of information, or the thread I created with a particular keyword…
Today, I discovered something quite amazing (well, that is after first trialling another ChatGPT search app that was, let’s just say, less than appealing).

What is ChatGPT History Search?
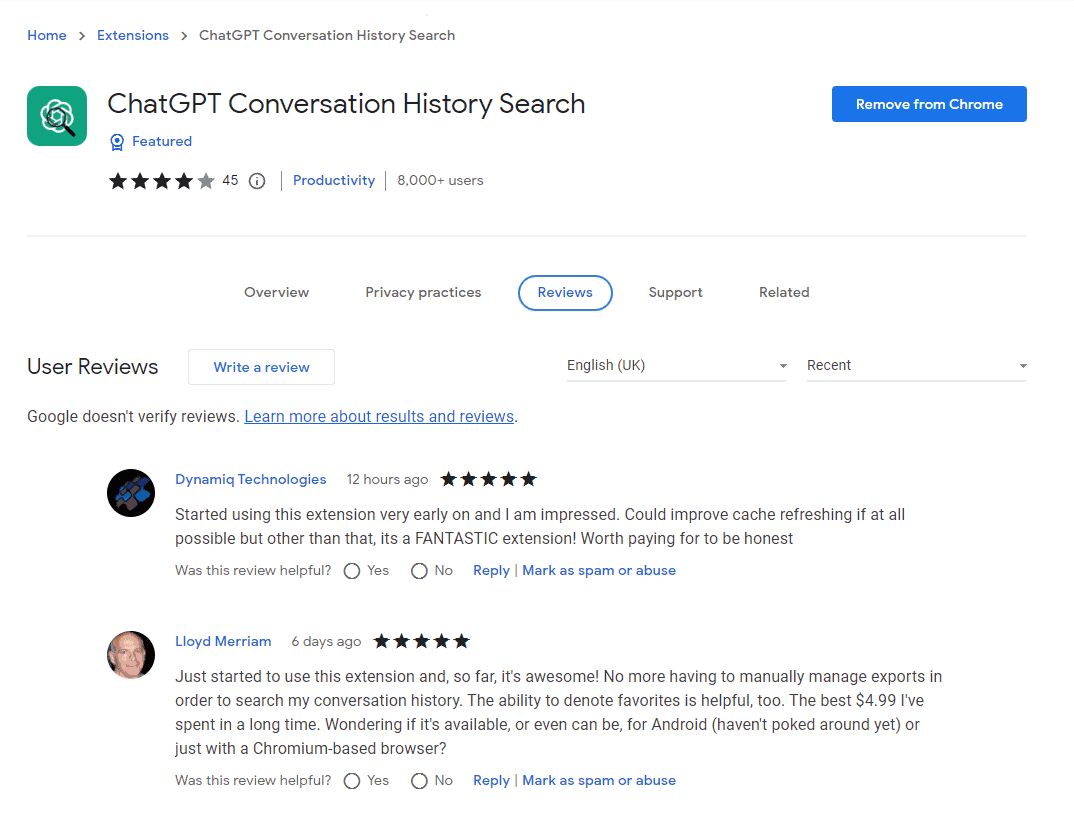
ChatGPT Conversation History Search is a nifty Chrome extension designed to enhance your chat interactions with the AI model. It’s like having a search engine tailored specifically for your chat conversations. You can find this gem on the Chrome Web Store, and we’ll guide you through the installation process later.
What Does It Do?
Now, let’s uncover the magic of ChatGPT Conversation History Search and what it can do for you:
- Effortless Information Retrieval: This extension lets you effortlessly search through your entire chat history with ChatGPT. No more endless scrolling and squinting to find what you’re looking for.
-
Time-Based Filters: Precisely filter your search results by update time (all, today, yesterday, last week, last month, last 7 days, last 30 days) for more relevant results.
- Boosted Efficiency: By saving you time and making information readily accessible, Conversation History Search supercharges your productivity during chat sessions.
- Data Privacy and Security: Rest assured knowing that your search queries and conversation history remain secure. All information is processed and managed locally on your machine, and no personal data is stored remotely.

How to Use ChatGPT History Search:
Here are the steps to install and use ChatGPT Conversation History Search:
Step 1: Install the Extension
First, make sure you’re using the Google Chrome browser. If you aren’t, download and install it from here.
Step 2: Go to the Chrome Web Store
Open Chrome and go to the Chrome Web Store.
Step 3: Search for the Extension
In the search bar, type “ChatGPT Conversation History Search” and hit Enter.
Step 4: Install the Extension
Once you find the extension, click on it to open its page. Then, click the “Add to Chrome” button. Confirm the installation by clicking “Add Extension” in the pop-up window.
Step 5: Access the Extension
Once the extension is installed, you’ll see a small ChatGPT icon in the top-right corner of your Chrome browser.
Step 6: Start Chatting
Now that you have the extension installed, open a chat with ChatGPT as usual.
Step 7: Use the Extension
Whenever you need to search your conversation history, simply click on the ChatGPT icon in Chrome’s extensions section in the top-right corner.
Step 8: Type Your Query
In the search bar, type your query, just like you would in a regular search engine.
Step 9: Review the Results
ChatGPT Conversation History Search will provide you with a list of messages containing your query, complete with context.
Step 10: Click to Navigate
Click on a result to jump right to that part of the conversation and access the information you need.
Upgrade or not?
Personally, I recommend paying the $5 or so to upgrade to get access to expanded search functions.
ChatGPT Conversation History Search is a program I have been waiting for and I don’t know about you, but for me this will save me SO much time (and avoid SO much potential frustration at not being able to quickly find what I am looking for in my ChatGPT history).
~ Bella
